By default Live preview is set to Google Chrome Browser. To change this - Go to Debug - Open Preference file and - change this line from “livedev.multibrowser”: false to “livedev.multibrowser”: true.
Close the Brackets App and open it again.
Click on the “Live Preview” and it will start in your default browser like Safari or any other browser.
A list of all the Godzilla movies in chronological order
1. Godzilla (1954) 2. Godzilla Raids Again (1955) 3. King Kong vs. Godzilla (1962) 4. Mothra vs. Godzilla (1964) 5. Ghidorah, the Three-Headed Monster (1964) 6. Invasion of Astro-Monster (1965) 7. Ebirah, Horror of the Deep (1966) 8. Son of Godzilla (1967) 9. Destroy All Monsters (1968) 10. All Monsters Attack (1969)
11. Godzilla vs. Hedorah (1971) 12. Godzilla vs. Gigan (1972) 13. Godzilla vs. Megalon (1973) 14. Godzilla vs. Mechagodzilla (1974) 15. Terror of Mechagodzilla (1975) 16. The Return of Godzilla (1984) 17. Godzilla vs. Biollante (1989) 18. Godzilla vs. King Ghidorah (1991) 19. Godzilla vs. Mothra (1992) 20. Godzilla vs. Mechagodzilla II (1993) 21. Godzilla vs. SpaceGodzilla (1994) 22. Godzilla vs. Destoroyah (1995) 23. Godzilla 2000: Millennium (1999) 24. Godzilla vs. Megaguirus (2000) 25. Godzilla, Mothra and King Ghidorah: Giant Monsters All-Out Attack (2001) 26. Godzilla Against Mechagodzilla (2002) 27. Godzilla: Tokyo S.O.S. (2003) 28. Godzilla: Final Wars (2004) 29. Shin Godzilla (2016) 30. Godzilla: Planet of the Monsters (2017) 31. Godzilla: City on the Edge of Battle (2018) 32. Godzilla: The Planet Eater (2018) 33. Godzilla: King of the Monsters (2019) 34. Godzilla vs. Kong (2021)
Alle tolino eBook-Reader verfügen über einen Zugang zu den HotSpots der Deutschen Telekom AG und bieten Ihnen somit an vielen Standorten in Deutschland kostenlosen Zugriff auf das Internet.
Installation von VirtualBox unter High Sierra oder neuer
Seit macOS High Sierra (Version 10.13) schlägt die Installation von VirtualBox fehl. Die Fehlermeldung vom Installer ist nicht sonderlich aussagekräftig und nur ein Blick ins Internet löst das Problem.
Zur Lösung:
Nachdem die Installation fehlgeschlagen ist, gehe bitte in die Systemeinstellungen > Sicherheit und in der Registerkarte Allgemein solltest Du einen Hinweis finden, dass Systemsoftware von Oracle America, Inc. blockiert wurde.
Klicke auf die Schaltfläche „erlauben“ und installiere erneut.
Die Installation wird nun reibungslos durchlaufen.
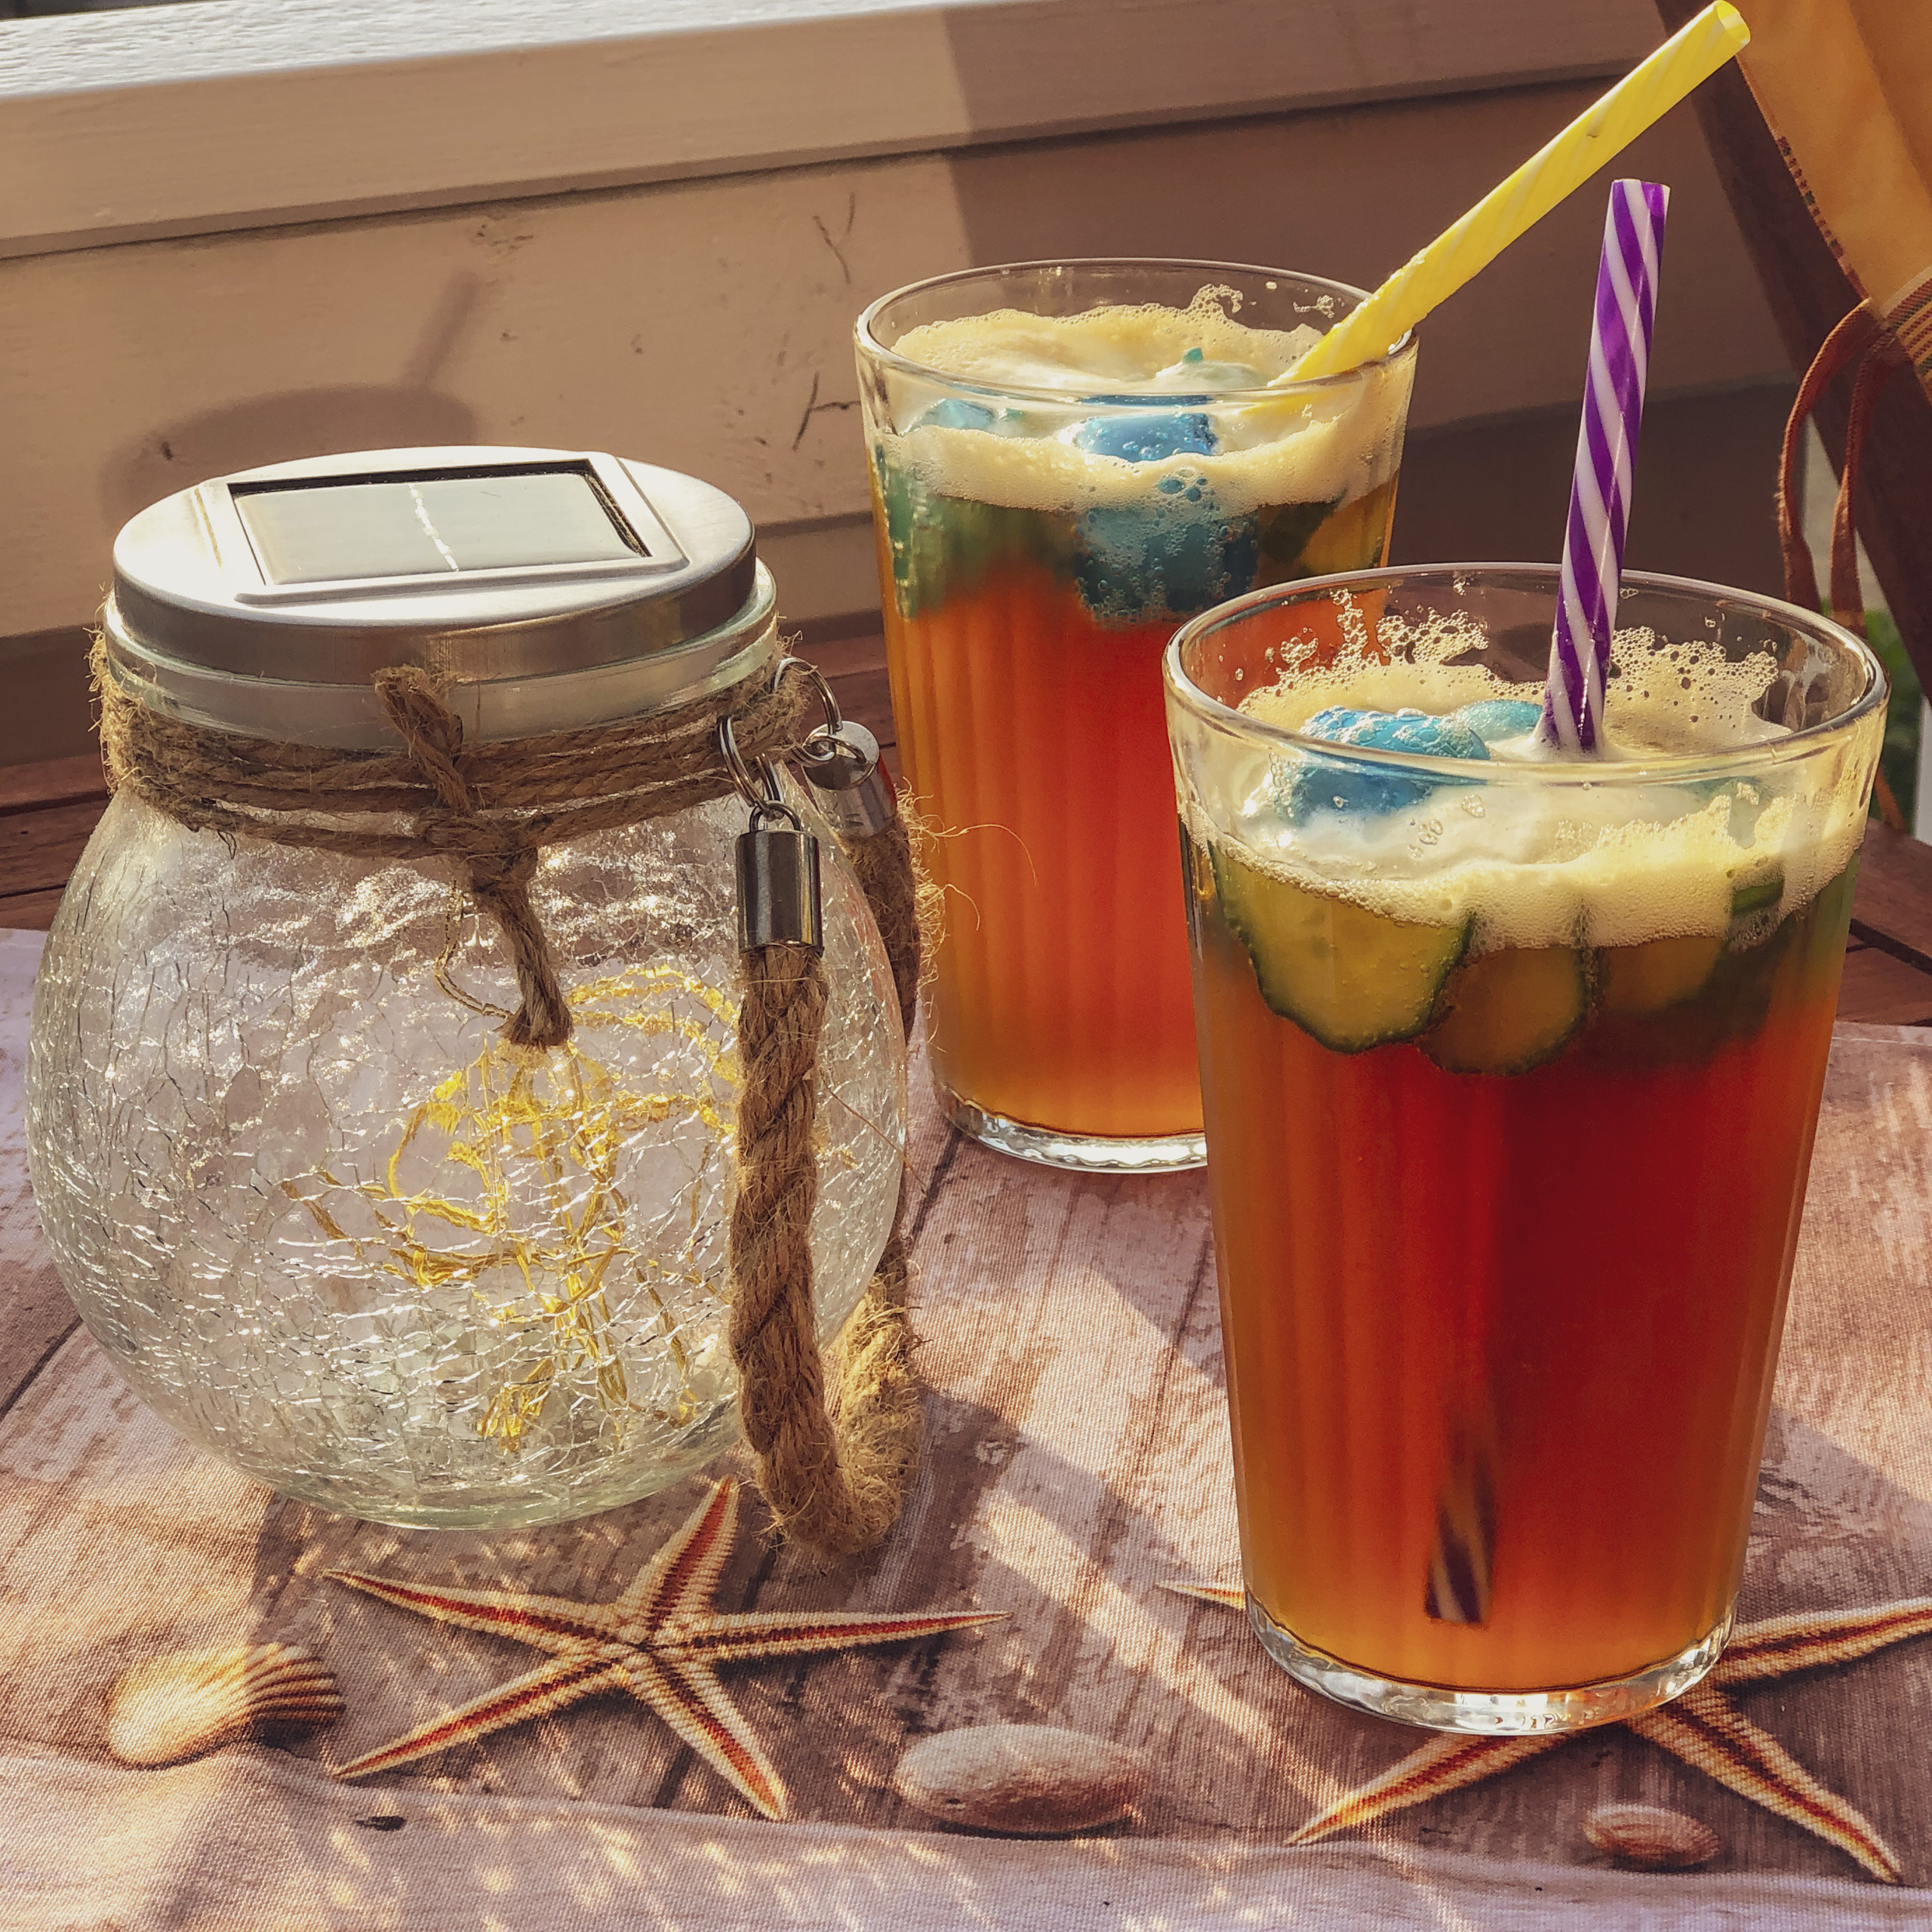
Zubereitung: Geben Sie ein paar Eiswürfel in ein Longdrink- oder ein großes Weinglas und geben Sie den Pimm's No 1 darauf. Fügen Sie anschließend Ginger Ale, bzw. die Zitronenlimonade hinzu und rühren Sie die beiden Zutaten, bis sie sich vermischt haben. Anschließend kommen noch die Gurken-, Zitronen- und Orangenscheiben sowie die Minze dazu und fertig ist der Pimms No 1 Cup! Alternativ kann der Cocktail auch mit einer Erdbeere statt der Orangenscheibe im Glas serviert werden.
Hintergrundinformationen und Geschichte
Dieses Rezept, Sommerdrink des Jahres 2016, ist für viele fest mit Wimbledon verbunden. Denn wer das berühmte Tennisturnier verfolgt, sieht dort reihenweise Leute im Publikum, die an einem rotbraun schimmernden Cocktail nippen, eben an einem Pimms No 1 Cup.
Hierbei handelt es sich um einen Longdrink aus Ginger Ale oder Zitronenlimo, gemischt mit dem kultigen Kräuterlikör Pimms No 1. Hinzugefügt werden Gurken, Zitronen, Orangen und Minze, so dass ein fruchtig leckerer Cocktail mit raffiniert bitterem Kräutergeschmack entsteht, der für ein herrliches Geschmackserlebnis sorgt.
Sobald laue Sommernächte aufkommen, steigt der Absatz von Pimms No 1 Kräuterlikör. Als Cocktail im Glas ist er wunderschön anzusehen und mit seinem relativ niedrigen Alkoholgehalt ist er wunderbar leicht zu trinken. Pimms No 1 Cup ist eine Alternative zur herkömmlichen Bowle. Wer es dann doch lieber etwas stärker mag, ersetzt die Zitronenlimonade durch Schaumwein und erhält dann eine Pimm's Royal Cocktail.
In Großbritannien zu den Topsellern gehörend, wird der Pimm's-No-1-Likör auch hierzulande immer beliebter und kann auch von uns nur wärmstens empfohlen werden.